I started making 24 hour yogurt about a year ago when I read about how the long fermentation process "denatures" or predigests the offensive components to milk, like lactose, and casein. Additionally, the sugar used in making vanilla yogurt is metabolized by the yogurt bacteria making it gentler on my little guys' systems--we seem to have less problem with impulse control when they're off white sugar, or when the sugar's been metabolized by something else before the kids eat it (as is also the case with kefir and kombucha).
I start by gathering all my 1 quart wide mouth glass canning jars and
lids into my pot and setting them on the stove to boil. It's important
to have sterile jars, lids and tools while making yogurt so you don't
introduce bacteria into the mix that might inhibit the yogurt bacteria
from doing its job.
Add one and half cups of sugar to your pot.
I use a gallon and a half of half-and-half, which will make just a
little over a gallon and a half of rich, creamy, thick Greek style
yogurt. Whatever warm sweet cream I have left over after filling all my
jars I give to the little ones for a treat they love!
I pour most of my half-and-half into my
pot using a slotted spoon to dissolve the sugar in the crean, and
leaving about a cup of cream in the carton for Caeli's morning coffee. I
still end up with a little extra warm sweet cream. I guess I could
leave closer to two cups of half-and-half and probably not have any
cream left over to treat the little ones, but they'd be so sad...
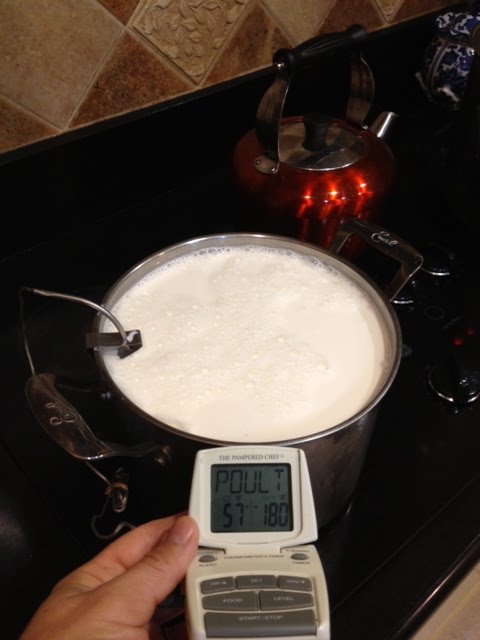
I
use a digital thermometer that has an alert function on it. So I set
my alert temperature to 180 degrees (the well-done temperature of
poultry) and just wait for the cream to get got. I set the stove top on
8 out of 10. I guess it usually takes about 15 minutes starting with
cold-out-of-the-fridge cream.
While my cream is warming up to 180 degrees F, I wash the dishes!
I put a clean dishpan in my sink with about 4 cups of ice in it. This is to cool my cream in after it reaches 180 degrees.
Then I put my pot of hot cream into the ice, adding a little cold water
to the dishpan of ice until my cream cools to 120 degrees.
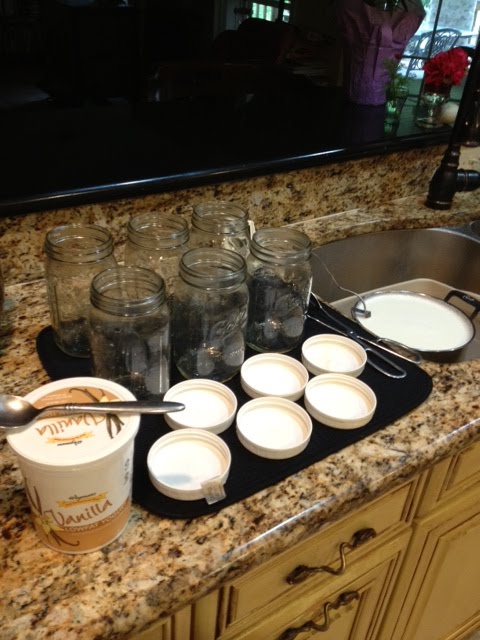
While my cream is cooling I take my sterilized jars and lids out of the
pot and set them on the counter to cool and dry. I save the pot of hot
water to continue to sterilize any new tools I use for filling my jars,
like my ladle and funnel.
Once my cream cools I add a tablespoon of pure vanilla extract and stir it into the cream with my slotted spoon.
I add a spoonful of yogurt to each jar as
a starter culture. I just use store bought yogurt that says it has
live, active cultures in the labeling. You can also use some left-over
yogurt from your previous batch, but my kids usually lick the jars clean
before I can reserve any for the next batch. I should probably make a
little jar of yogurt to hide in the back of the fridge just for this
purpose. You can use your own yogurt to start a new batch a few times
but eventually you'll have to get some store bought yogurt again because
the bacteria loose their vigor--or so I've read--never tried using my
own yogurt more than once.
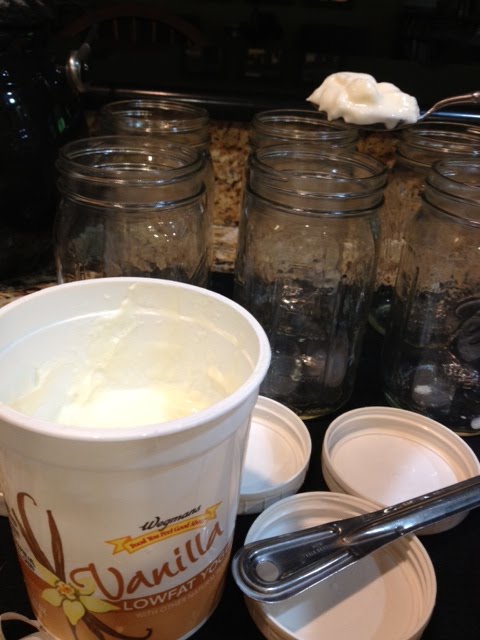
Here you can see I've dropped a rounded tablespoon of yogurt into each
jar. Make sure your jars have cooled or the heat can weaken and even
kill your starter.
Now it's time to temper your yogurt starter with the warm cream. Just
pour a ladleful of warm cream into each jar (I use a funnel to avoid so
much mess) and gentle swish the cream and yogurt around in the jars.
The idea here is to introduce the two to each other, not blend them
together, so be gentle--no need to use a utensil to mix.
After you've tempered your starter you can ladle or pour the remaining
cream into each jar. I usually pour the cream almost all the way to the
top, which sometimes leaks during the fermentation process, leaving
little yogurt rings on the bottom of my dehydrator. Again, if I
reserved closer to two cups of cream at the start I could probably avoid
this minor inconvenience.
But as you can see the little ones don't really mind when there's a surplus of warm sweet cream!
Six beautiful full jars of warm sweet vanilla cream and yogurt starter
ready to eat in about 30 hours. Trust me--it's well worth the wait!
And the same six beautiful full jars snuggled up nice and cozy in our
second-hand Excalibur dehydrator (the Rolls Royce of dehydrators!). You
don't have to use a dehydrator to make yogurt. Remember that pot of
hot water you saved to sterilize all your tools? Well, you can pack
your jars into an cooler chest and then add some cold water to the pot
of hot water until you reach about 115 degrees and pour it into the
cooler with the jars. Put the lid on tight, maybe wrap the cooler in a
blanket or towel and set it in a non-drafty location for 24 hours. I've
done it this way many times, but since we have this dehydrator now
taking up space in my dining room I figure I might as well use it.
The Excalibur has a temperature dial that specifies what temperature you
should set it at for what kind of food your making. Our sets yogurt at
115 degrees, but I've found that I get a creamier (less grainy)
consistency when I set it between 105 and 115.
Now all you have to do is wait--and boy is it hard. The kids are so tantalized by the sound of the dehydrator going for the next 24 hours they can hardly stand it. And some of them would eat it warm right away. But I always insist we chill it first to get the best consistency--so thick and creamy it won't fall of of Dan's spoon while he insists on feeding himself. It's like custard, and would probably actually be good warm--or cold on warm apple pie--but just really gosh darn delicious all by itself!
I hope your family enjoys this yogurt as much as we do!